Making QR Code Stickers That Actually Work
When you're making QR code stickers, your first real decision is a big one: do you go with a static or dynamic code? This choice fundamentally changes what your stickers can do for you long after they're printed and out in the world.
Think of it this way: a static code is like printing a phone number directly onto a flyer. Once it's printed, it's permanent. A dynamic code is more like printing a receptionist's number who can then forward the call anywhere you want, and even keep a log of who called. For almost any business or marketing goal, that flexibility is priceless.
Your Blueprint for Making QR Code Stickers
Before you jump into a QR code generator, let's map out the process. Creating a great QR code sticker is more than just making a scannable image; it’s about crafting a reliable tool that connects your physical presence—on packaging, at an event, or on a window—to your digital world.
The foundation of this whole process is picking the right type of code from the get-go. This single decision affects your ability to measure success, adapt to changes, and get the most value out of your project.
Static Codes: The Permanent Choice
A static QR code is exactly what it sounds like—the information is locked directly into the black and white pattern. Whether it's a website URL, a Wi-Fi password, or a line of text, that data is baked in. Once it's generated and printed, it can't be changed.
This makes them a solid choice for information that truly never changes.
- Your company’s homepage: A link that will always be relevant.
- Guest Wi-Fi access: Perfect for cafes, waiting rooms, or offices.
- A personal vCard: If your contact details are set in stone.
The main advantage here is simplicity. Static codes are usually free to create and have no strings attached. But that permanence is a double-edged sword. If a link breaks or you want to point people to a new seasonal offer, you're out of luck. You’d have to start from scratch, printing and distributing all new stickers.
Dynamic Codes: The Smart Choice for Marketers
For pretty much any marketing or business use case, dynamic QR codes are the way to go. They work a little differently. Instead of encoding your final destination URL, they encode a short, unique URL that acts as a redirect. You, the owner, can log into a dashboard and change where that short URL points anytime you want.
This flexibility is a game-changer. Imagine you've stuck 1,000 QR code stickers on your products, linking to a user manual. Six months down the line, you create a much better setup video. With a dynamic code, you just log in, update the link, and instantly all 1,000 of those stickers in the wild will start sending people to the new video.
But the real power comes from the data. Dynamic codes let you see how many people scanned your sticker, their general location (based on IP), the time of day, and what kind of phone they used. This is gold for figuring out if your campaign is actually working. The market has already figured this out; recent analysis shows over 90% of marketers now use QR codes, with dynamic codes grabbing 65% of the market share because of these powerful tracking and editing features. You can dive deeper into the data on this trend and how it’s shaping the label industry.
Which One Should You Choose?
So, how do you decide? I've put together a quick comparison to make it crystal clear.
Static vs Dynamic QR Codes: A Practical Comparison
This table breaks down the core differences to help you see which type fits your sticker project best.
| Feature | Static QR Code | Dynamic QR Code |
|---|---|---|
| Editability | Cannot be changed after printing. | Destination URL can be updated anytime. |
| Tracking | No scan analytics available. | Tracks scans, location, device, and time. |
| Best For | Permanent info like Wi-Fi or vCards. | Marketing campaigns, product info, events. |
| Cost | Usually free. | Typically requires a subscription. |
| Lifespan | As long as the link is active. | Indefinite, as links can be repaired. |
For most situations where you're putting time and money into creating stickers for your business, the answer is pretty straightforward.
- Choose static if: The information will absolutely, positively never change, you have zero budget, and you don't need to know if anyone is even scanning it.
- Choose dynamic if: You might ever want to change the destination link, you want to measure your campaign's performance, or you're running any kind of promotion.
Ultimately, starting with a dynamic code is like buying insurance for your sticker campaign. It protects you from the costly mistake of printing thousands of stickers that become useless overnight and gives you the insights you need to get smarter with your marketing. This first decision is easily the most important one you'll make.
Designing QR Codes That Actually Scan
A QR code sticker is more than just a functional tool; it’s a visual handshake with your customer. But if that handshake is fumbled—if the code doesn't scan—it's a dead end for them and a completely wasted opportunity for you.
The trick is finding that sweet spot between good-looking design and rock-solid technical performance. You want it to look like your brand, but its number one job is to work flawlessly. Getting this right comes down to a few hard-and-fast rules that ensure any smartphone can read your code instantly.
The Two Pillars of Scannability: Contrast and Quiet Zones
The single most important factor for a scannable QR code is high contrast. A phone's camera needs to see a sharp difference between the dark squares (modules) and the light background. The classic black-on-white is your safest bet for a reason—it offers the best possible contrast.
Can you use brand colors? Absolutely, but you have to be careful. A navy blue on a light gray might look slick, but if the contrast is too weak, scanners will struggle. As a rule of thumb, always pair a very dark foreground with a very light background. To get technical, you should aim for a minimum contrast ratio of 4:1. This ensures most devices and lighting conditions won't be an issue.
Equally critical is the quiet zone. This is simply the empty margin that frames the QR code, acting as a buffer that tells a scanning app where the code begins and ends.
Think of the quiet zone like the matting around a framed picture. It separates the art from everything else, helping you focus. Without it, the scanner might get confused by nearby text or graphics and fail the scan.
A good guideline is to keep a quiet zone that's at least four times the width of one of the tiny squares in your code. Most QR generators add this automatically, but just be sure you don't crop it off or let other design elements creep into that space.
This is the basic flow you'll follow to get your code ready to print.
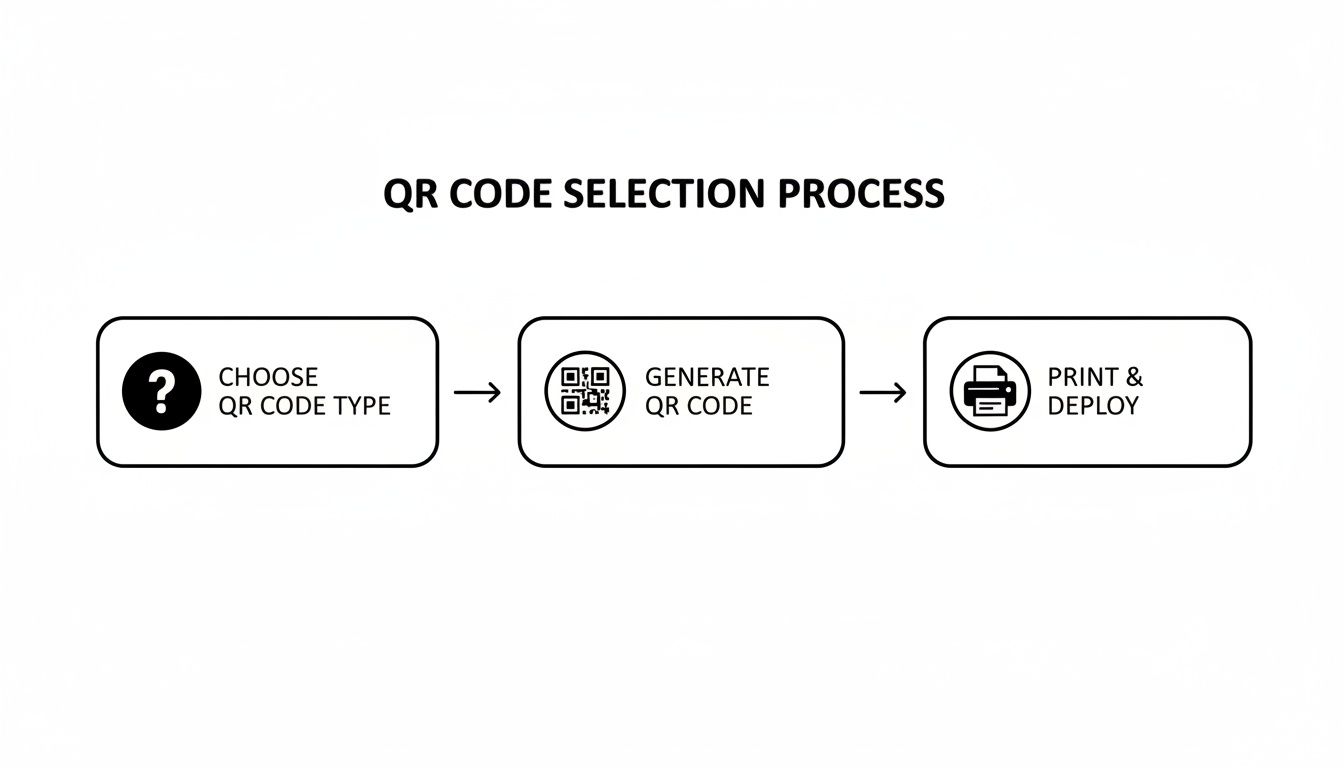
Getting these first two steps right—choosing the code's purpose and designing it with these principles in mind—is essential before you even think about hitting "print."
Error Correction: Your Built-In Safety Net
Have you ever seen a QR code with a logo plopped in the middle, or one that’s a bit scuffed up but still works? That’s error correction in action. It’s a fantastic feature that allows a code to take some damage or be partially obscured and still function perfectly.
Error correction works by embedding redundant data into the code's pattern. You can typically choose from four levels:
- Level L (Low): Can recover from up to 7% data loss.
- Level M (Medium): Can recover from up to 15% data loss.
- Level Q (Quartile): Can recover from up to 25% data loss.
- Level H (High): Can recover from up to 30% data loss.
For most stickers, I find that Level M or Q is the sweet spot. They provide a solid buffer against wear and tear without making the code's pattern overly dense. However, if you're planning to put your logo in the center, you must use Level H. The logo literally covers up part of the data, and only the high error correction level has enough backup information to let the scanner figure out the missing pieces.
Weaving Your Brand In (Without Breaking the Code)
Function comes first, but you still want your sticker to feel like it belongs to your brand. Adding a logo or using brand colors are the two most common ways to do this, but you have to be smart about it.
When you add a logo, make sure it’s not hogging too much real estate. Even with Level H error correction, it shouldn't cover more than 15-20% of the QR code's total area. And please, always test the final design with a few different phones and scanning apps before you print a thousand of them.
Finally, don’t forget the most important human element: the call-to-action (CTA). A QR code just sitting there is a mystery. You have to tell people why they should bother scanning it. A few simple words can make all the difference.
Think about clear, direct instructions like these:
- "Scan to See Our Menu"
- "Scan for 20% Off"
- "Scan to Watch the Tutorial"
Place this text right next to the code where it can't be missed. A short, action-focused CTA sets a clear expectation and turns a passive little square into an interactive tool that gets people to actually engage.
Choosing Sticker Materials That Last
Your QR code design is only half the battle. The material you print it on is what determines whether it survives a few rainy days or lasts for years. When you're making QR code stickers, the physical sticker stock isn't just a detail—it's a critical investment. A sticker that peels, fades, or gets damaged makes your entire campaign a waste of time and money.
Choosing the right material isn't just about longevity, either. It’s about matching the sticker to its environment. A sticker destined for a refrigerated product has completely different needs than one stuck on a coffee shop's front window.

The Great Divide: Vinyl vs. Paper Stickers
Your first big decision is vinyl or paper. Think of vinyl as the all-terrain vehicle of the sticker world—it’s built to handle tough conditions. Paper, on the other hand, is the economical choice, perfect for short-term, indoor uses where cost is a primary concern.
Durable Vinyl is a plastic-based material, which makes it inherently weather-resistant and tear-proof. It's the go-to choice for almost any outdoor application or for stickers that will be handled frequently.
Think about these common scenarios for vinyl:
- Restaurant Window Decals: They have to withstand constant sun, rain, and changing temperatures.
- Bumper Stickers: These need to survive car washes, road debris, and years of UV exposure.
- Product Labels on Bottles: Must be resistant to moisture, condensation, and scuffing.
Paper-Based Stickers are much more affordable and work great for indoor, temporary uses. They're ideal when the sticker doesn't need to last forever and won't face the elements. For example, they’re perfect for sealing a sandwich wrapper or as a one-time-use label on an event handout.
A classic mistake I see is people choosing paper to save a few cents on an outdoor campaign. Within weeks, rain and sun will turn that sticker into a faded, peeling mess, making your QR code completely unscannable and damaging your brand's image.
This choice directly impacts your campaign's success. As the world moves toward contactless interactions—a market expected to grow 113% to $15.7 trillion by 2029—QR stickers are becoming central. This makes material durability more important than ever. Thankfully, printing tech is keeping up, supporting a broader sticker market that’s projected to hit $7.1 billion by 2032. You can explore more about this growing market and the tech behind it.
Finishes Matter More Than You Think
Once you've picked your material, the next layer of choice is the finish. This protective top coat doesn't just affect the sticker's look and feel; it can dramatically impact the scannability of your QR code. The two most common options are gloss and matte.
A Gloss Finish gives you a shiny, reflective surface that makes colors pop. It’s fantastic for making a design look vibrant and professional. The problem? That same reflectivity can be a killer for QR codes. If the sticker is placed under direct lighting or in bright sunlight, the glare can easily prevent a phone’s camera from reading the code.
A Matte Finish, on the other hand, has a non-reflective, satin-like surface. It diffuses light instead of reflecting it, which cuts down on glare significantly. This makes it a much safer and more reliable choice for QR code stickers, ensuring they stay scannable from any angle and in almost any lighting. It might look a little less "punchy" than gloss, but its functional superiority for QR codes is undeniable.
Specialty Materials for Unique Situations
Beyond standard vinyl and paper, a few specialty materials can solve specific challenges or just help your QR code sticker stand out.
- Holographic Vinyl: This material has an iridescent, rainbow-like effect that shifts with the light. While it looks amazing, be extremely cautious. The shifting, reflective background can seriously interfere with a camera's ability to lock onto the QR code.
- Transparent Vinyl: Also known as clear stickers, these are great for placing on windows or colored surfaces where you want the background to show through. The key here is to print your QR code in a dark, high-contrast color like black or dark blue so it remains scannable against whatever is behind it.
- Textured Paper: Materials like kraft paper can lend a rustic, eco-friendly feel. However, the uneven texture can distort the tiny squares of a QR code. If you go with a textured stock, make sure your code is printed large enough to overcome any surface inconsistencies.
Here’s a quick guide to help you pick the right combination of material and finish for your project.
Sticker Material and Finish Guide
This table breaks down the most common options to help you decide what's best for your specific needs, keeping scannability and longevity in mind.
| Material/Finish | Best For | Durability | Scannability Notes |
|---|---|---|---|
| Gloss Vinyl | Vibrant, colorful designs on products | High (Waterproof, UV-resistant) | High risk of glare. Test in various lighting before mass production. |
| Matte Vinyl | Outdoor QR codes, window decals | High (Waterproof, UV-resistant) | Excellent. The non-reflective surface minimizes glare for reliable scanning. |
| Paper | Indoor, temporary use (packaging, events) | Low (Not waterproof or durable) | Good, as long as the surface remains flat and undamaged. |
| Transparent | Glass surfaces, product windows | High (Waterproof) | Requires a high-contrast QR code (e.g., black) to be scannable. |
Ultimately, making QR code stickers that last comes down to matching the material and finish to the environment. For nearly all QR code applications, matte vinyl offers the best combination of durability, weather resistance, and scannability, making it the safest and most effective choice.
5. Printing and Cutting Your Stickers for a Pro Finish
Alright, your design is locked in and you’ve picked your materials. Now for the fun part: bringing your digital QR code sticker into the real world. This is where your careful planning pays off, and the choices you make here are the difference between a sticker that looks pro and one that looks like a rushed DIY job.
The big question is whether to print them yourself or hand the job over to a professional service. There’s no single right answer—it really depends on how many you need, your budget, and the level of quality you're after.
DIY Printing: Taking Control at Home
Printing at home is perfect for smaller batches, testing a new design, or when you just need a few stickers right now. You can get some surprisingly great results with a standard printer and the right sticker paper, as long as you mind the details.
If you're using an inkjet printer, always crank up the settings to "photo quality" or the highest resolution possible. This makes the printer lay down smaller, more precise ink droplets, which is exactly what you need for a sharp, scannable QR code. For basic black-and-white codes, a laser printer is often even better; the toner produces incredibly crisp lines that scanners love.
Here's a tip I can't stress enough: Your file format is everything. Whenever you can, use a vector file like an SVG or EPS. Unlike a PNG or JPG, vectors are built on math, not pixels. That means you can stretch them to any size, and they'll stay perfectly sharp.
A blurry QR code is a useless QR code. Using a vector file is your best insurance against pixelation and scanning errors. If you absolutely have to use a pixel-based file like a PNG, make sure it’s saved at a high resolution—at least 300 DPI—at the exact size you plan to print it.
Outsourcing: When to Call in the Pros
For larger runs, or when you need stickers that can take a beating, a professional printing service is the only way to go. Companies like Sticker Mule or StickerApp have specialized equipment that can produce a finish you just can’t replicate at home.
When you outsource, you get access to some serious advantages:
- Built to Last: They use commercial-grade inks and laminates that shrug off sunlight, rain, and scuffs.
- Flawless Cuts: Pros offer options like die-cutting (custom shapes) and kiss-cutting (easy-peel sheets) for a perfect edge every single time.
- Spot-On Color: Their printers are calibrated to nail your brand colors, ensuring consistency from the first sticker to the last.
Sure, it costs more per sticker, but the quality is undeniable. For any stickers that will be representing your brand out in the wild, the investment is almost always worth it for the time saved and the professional impression you'll make.
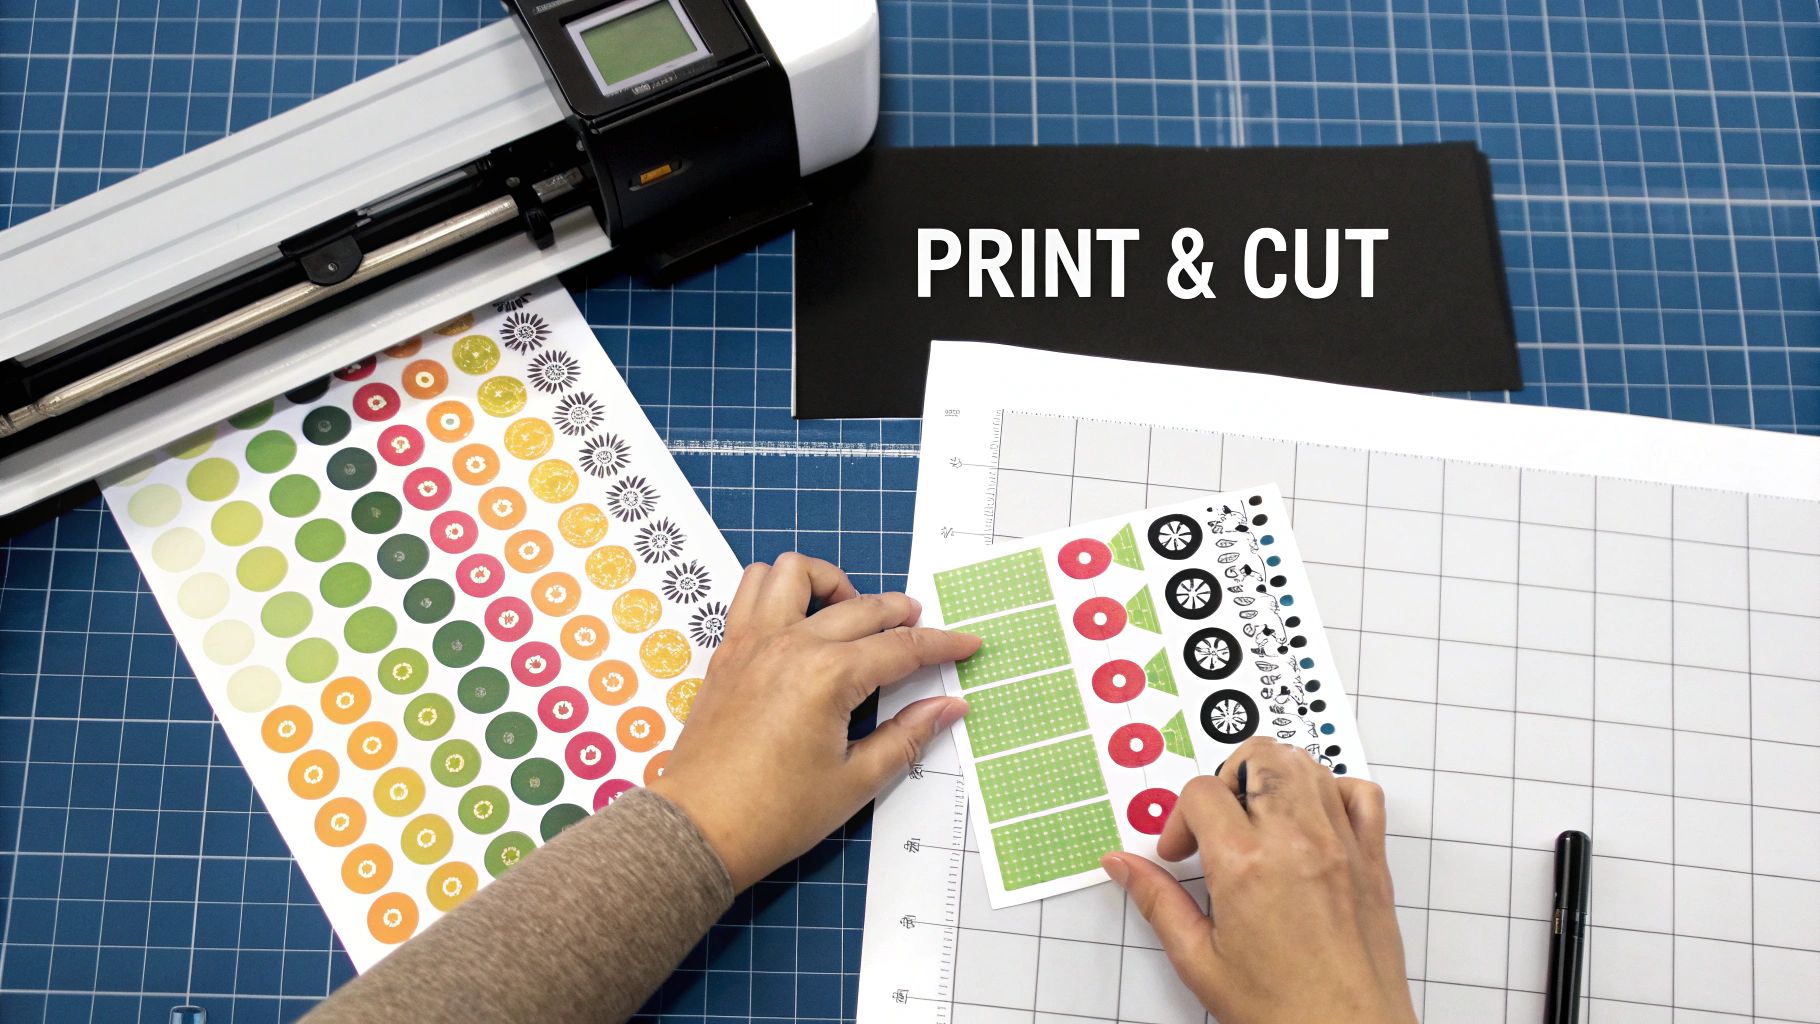
Cutting: Getting the Shape Just Right
Once printed, your stickers need that final cut to give them their shape and make them easy to use.
If you’re printing at home, a craft cutting machine like a Cricut or Silhouette is a game-changer. Their "Print Then Cut" feature uses registration marks to cut precisely around your design, letting you create custom shapes with ease. It's the secret to getting a pro look on a small scale.
No cutting machine? No problem. The simplest route is to use pre-cut label sheets from a brand like Avery. Just drop your design into their template, print, and you're good to go.
And if you outsourced the job? You can relax. The print shop handles all the cutting for you, delivering a stack of perfectly cut stickers, either as individual die-cut pieces or on kiss-cut sheets, ready for action.
Testing and Tracking Your QR Code Campaign
Your design is locked in and you’ve picked the perfect material. But before you send a massive order to the printer, there's a crucial question you have to answer: does it actually work in the real world?
A QR code sticker that doesn't scan is more than just a waste of money—it’s a dead end that actively frustrates your customers. This is why a final quality assurance (QA) step is non-negotiable. Don't make the mistake of assuming that because a code works on your monitor, it'll perform flawlessly on a glossy sticker under the glare of a storefront light. Real-world variables like lighting, scan angles, and different phone models are notorious for breaking that link between your customer and your content.
A Practical Field Testing Strategy
First things first, get a small test batch printed on the exact material and finish you plan to use. Just five or ten stickers will do for now. Then, arm yourself with a few different smartphones—grab an iPhone, an Android, and even an older model if you can—and start putting them through their paces.
This isn't just about a quick, ideal-condition scan. Your goal is to mimic all the challenging situations your sticker will face out in the wild.
- Vary the Lighting: Scan your sticker under direct sun, in a dimly lit room, and beneath harsh office fluorescents. Glare from glossy finishes can be a real killer.
- Change Up the Angles: People won't always be standing perfectly square to your sticker. Try scanning from sharp angles—left, right, above, and below. See how far away you can get before the camera gives up.
- Use Different Apps: Most new phones have a native camera scanner, but plenty of people still rely on third-party QR apps. Download a couple of popular ones and make sure they work, too.
- Confirm the Destination: This seems obvious, but it's amazing how often it gets missed. After every successful scan, make sure the link resolves to the correct, fully-loaded webpage or resource. A broken link is an instant credibility killer.
If you’re getting fast, consistent scans across all your tests, you're good to go for the full production run. If you hit any snags, it’s time to troubleshoot. The usual suspects are poor contrast, a quiet zone that’s too small, or a finish that's just too reflective for its intended environment.
Strategic Placement for Maximum Impact
Where you stick your QR code is just as critical as what’s on it. You need to place it where people will not only see it but will also have the time, context, and motivation to actually pull out their phones to scan it.
Think of your sticker's placement as part of the call-to-action itself. The context should give people a natural reason to scan. A QR code slapped on the side of a speeding bus is useless, but one on a menu, a product box, or a waiting room table is perfectly positioned for engagement.
Here are a few high-impact locations to consider:
| Location Type | Example Placement | Why It Works |
|---|---|---|
| Retail | On product tags or packaging | Gives instant access to reviews, tutorials, or reorder pages right at the moment of decision. |
| Restaurants | On the corner of a menu or a table tent | Offers a contactless way to view daily specials, join a loyalty program, or even pay the bill. |
| Events | On attendee badges or informational posters | Links directly to the event schedule, speaker bios, or a private networking app. |
| Real Estate | On "For Sale" signs | Provides immediate access to a virtual tour, property details, and the agent’s contact info. |
Unlocking Insights with Dynamic QR Code Analytics
If you opted for a dynamic QR code, you didn't just create a scannable link—you built a powerful data-gathering tool. The dashboard provided by your QR code generator becomes your mission control, offering a goldmine of information about how people are actually interacting with your stickers.
This data is how you measure your return on investment. In fact, understanding this behavior is why 69% of marketers update their dynamic codes monthly to test new content and offers. With two-thirds of consumers having scanned a QR code in the last year, this simple technology is a proven engagement driver. You can explore the full market research on QR code label trends to see just how widespread this adoption has become.
Most dashboards will track a few essential metrics:
- Total Scans: The raw count of how many times your code was scanned. This is your top-level metric for overall engagement.
- Unique Scans: The number of individual devices that scanned your code. This helps you understand if you're reaching a broad audience or if the same few fans are scanning repeatedly.
- Location Data: A geographic breakdown of where scans originate, often by city or country. This is great for identifying hotspots of interest.
- Time of Day: A chart showing when your scans are happening, which can reveal when your audience is most active and engaged.
- Device Type: A simple breakdown of iOS vs. Android users.
By keeping an eye on this data, you can quickly see what’s working and what’s falling flat. If a sticker on your product packaging is pulling in hundreds of scans but a window cling is getting zero, you know exactly where to focus your budget and effort next time. This feedback loop—testing, deploying, and tracking—is what elevates a simple sticker project into a smart, measurable marketing campaign.
Common Questions About Making QR Code Stickers
When you're in the final stretch of making your QR code stickers, a few last-minute questions always seem to surface. We get these all the time. Let's tackle the most common ones so you can wrap up your project with confidence and get those stickers out where they need to be.
What Is the Absolute Minimum Size for a QR Code Sticker?
You can technically shrink a QR code down to be incredibly small, but the real question is about scannability. How small can it get and still work every time?
In my experience, the absolute floor for a reliable QR code sticker is 2 x 2 centimeters (that's about 0.8 x 0.8 inches).
Go any smaller, and you're asking for trouble. Many phone cameras, especially in low light, will struggle to focus on the individual squares (the "modules") of the code. If the camera can't distinguish them clearly, the scan will fail, and you've just created a frustrating experience for your user.
A great rule of thumb I always follow is the 10:1 distance-to-size ratio. If you expect someone to scan your sticker from 10 inches away, make the sticker at least 1 inch wide. This simple guideline helps ensure your sticker is actually functional, not just decorative.
Do QR Codes Expire?
This is a huge point of confusion, so let's set the record straight. The QR code pattern itself—the black and white square—never expires. It's just a visual way to store data. However, the link it points to can absolutely break or be turned off.
Here’s the difference:
- Static QR Codes: Think of these as permanent ink. The URL is encoded directly into the pattern. If that webpage is ever deleted or the URL breaks, the code will just lead to a "404 Not Found" error. The code still "works," but its destination is gone.
- Dynamic QR Codes: These rely on a subscription service. The code points to a short redirect link managed by the service, which then sends the user to your final destination URL. If you stop paying your subscription, the company will deactivate that short link. The code is still scannable, but it leads to a dead end. So, in this case, it has effectively "expired."
The pattern is timeless, but its usefulness completely depends on a healthy, active destination link.
Are There Good Free QR Code Generators?
Yes, absolutely! There are some excellent free tools out there, especially if you just need a straightforward static code. For most simple projects, you don't need to pay a dime.
Platforms like QR Code Generator and Canva's free QR code tool are fantastic for creating high-quality static codes quickly and for free.
These are perfect for things like:
- Linking to your website's homepage.
- Sharing your Wi-Fi network details with guests.
- Creating a digital business card (vCard).
But—and this is a big but—if you need the power of dynamic codes, like tracking scan analytics or changing the destination link later, you'll need a paid plan. The free tools are great for getting started, but the real marketing muscle is in the premium dynamic features.
Does a QR Code Have to Be Black and White?
Not at all! While black on a white background provides the best possible contrast, you can (and should!) use your brand colors to make your QR code sticker pop.
The golden rule here is high contrast. A scanner needs to easily tell the difference between the dark parts and the light parts of the code.
Aim for a contrast ratio of at least 4:1. A dark navy on a pale yellow? Perfect. A medium gray on a light gray? That’s probably going to fail. Just make sure you pair a very dark color with a very light color, and you'll be fine.
Ready to take these tips and create QR code stickers that actually get results? The QR Code Stickers blog is packed with expert guides, practical advice, and tons of creative ideas. Dive into our articles and master every part of the process.